If you have never been tattooed before, the session itself can be difficult to picture. You may know that the process involves a consultation, stencil, tattooing and aftercare, but there are several smaller steps between them that affect how the tattoo is placed, how the session feels and how the final result is handled. This guide explains what actually happens during a tattoo session, from the initial conversation and design checks to skin preparation, stencil placement, tattooing, breaks and the final wipe. It is useful for first-time clients as well as anyone planning a larger or more detailed tattoo.
The Session Usually Starts Before the Tattoo Machine
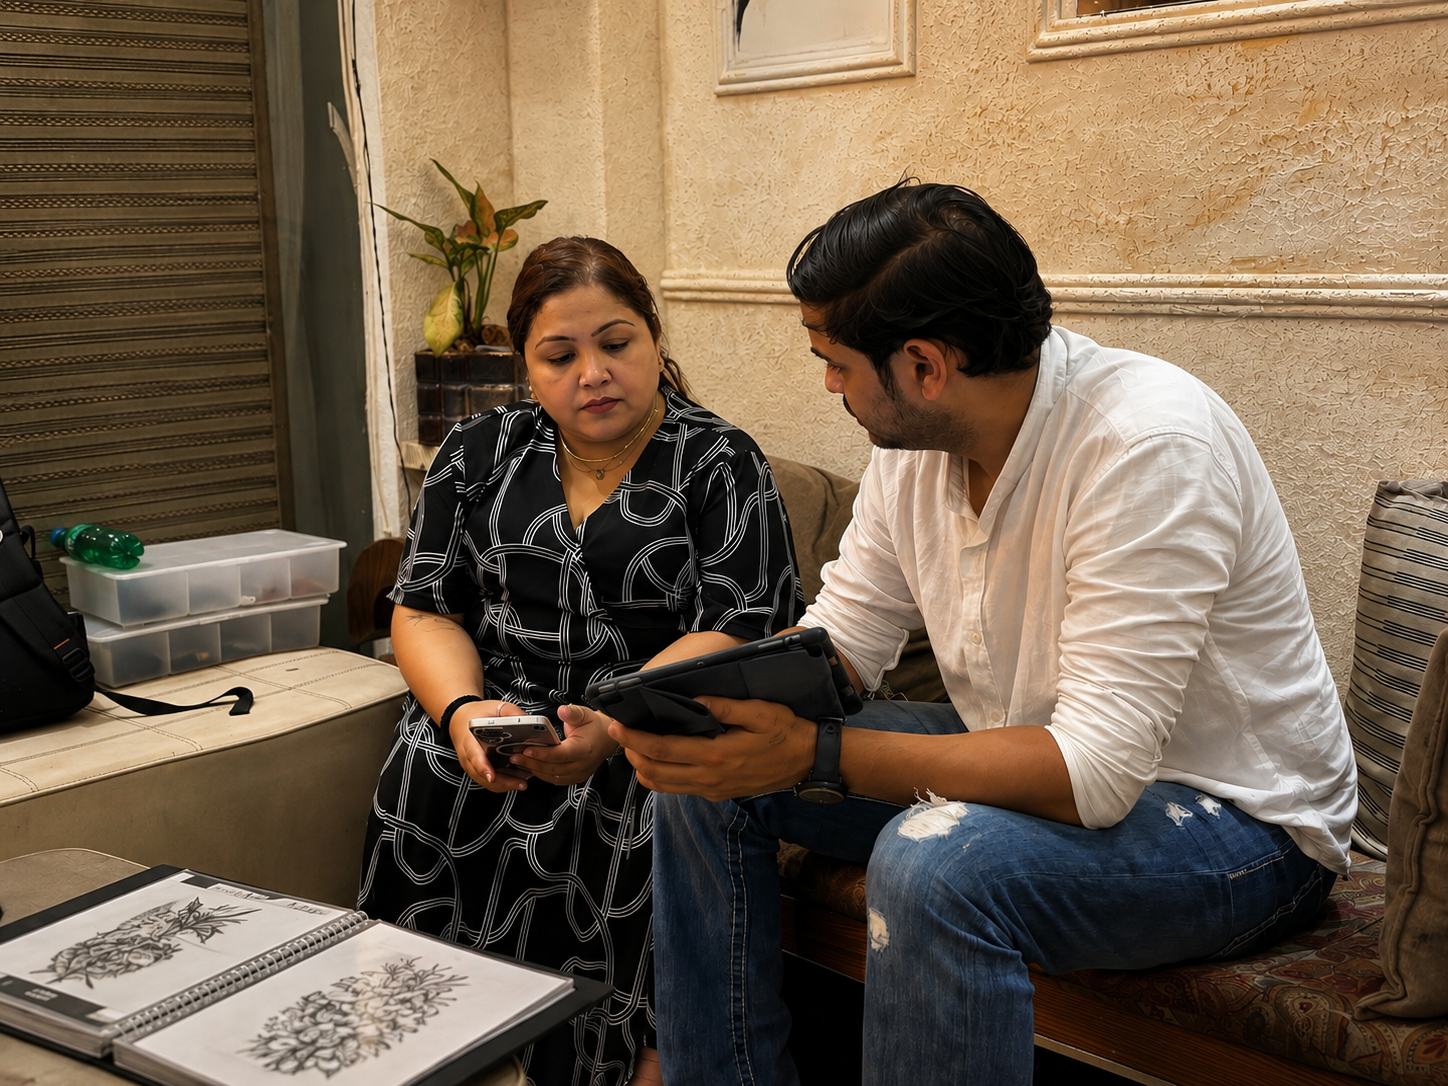
A professional tattoo session does not normally begin with the machine touching your skin. The first part is confirming that everyone is working from the same plan. Your artist may review the design, placement, size, orientation and any changes discussed after the consultation. For a custom tattoo, this is particularly important. A design that looks correct on a screen can behave differently once it is positioned on an actual body. The artist needs to consider the shape of the area, how the body moves and how the design will sit when you are standing or sitting normally. At Inkspace, the process is consultation-first: the idea, reference material, placement, size and long-term wearability are discussed before the tattoo session is booked.
The Artist Checks the Design With You
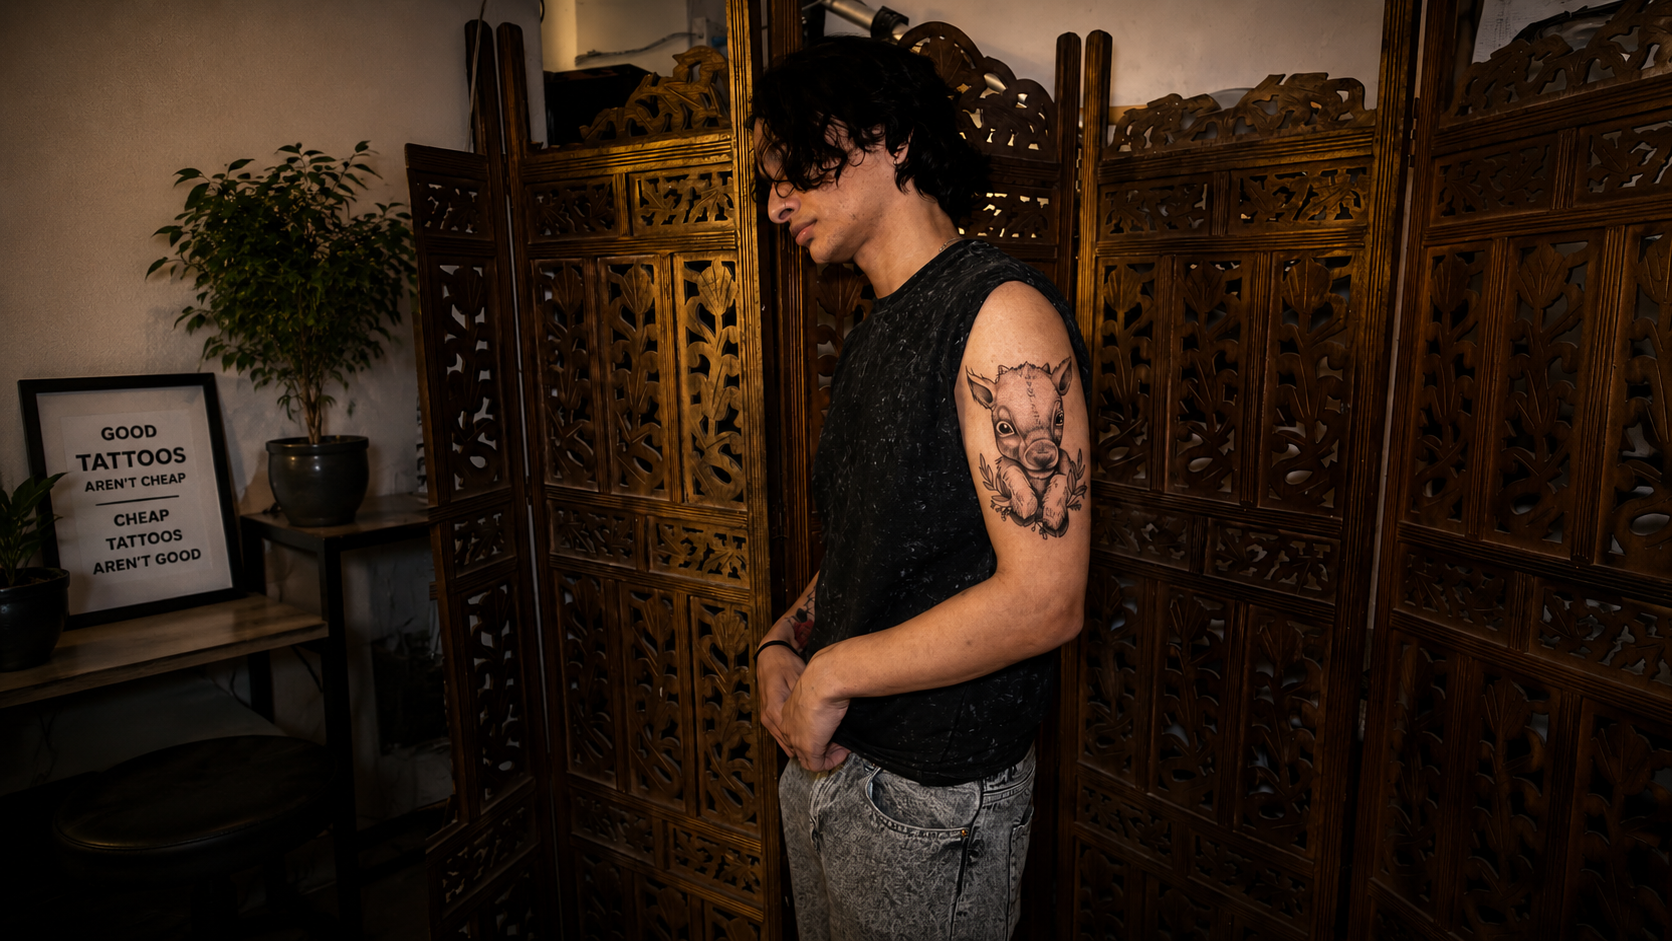
Before anything permanent happens, you should have an opportunity to review the design. This is the right time to raise genuine concerns about things such as: Overall size Placement Orientation Spelling or lettering Proportions Important details in the reference Whether the design needs to be simplified or adjusted Small changes are much easier before tattooing begins than after the needle has started. That does not mean every detail needs to be redesigned at the chair. A good consultation should already have resolved most major decisions. The session is primarily about confirming the final version and making sure the physical placement works.
The Skin Is Prepared
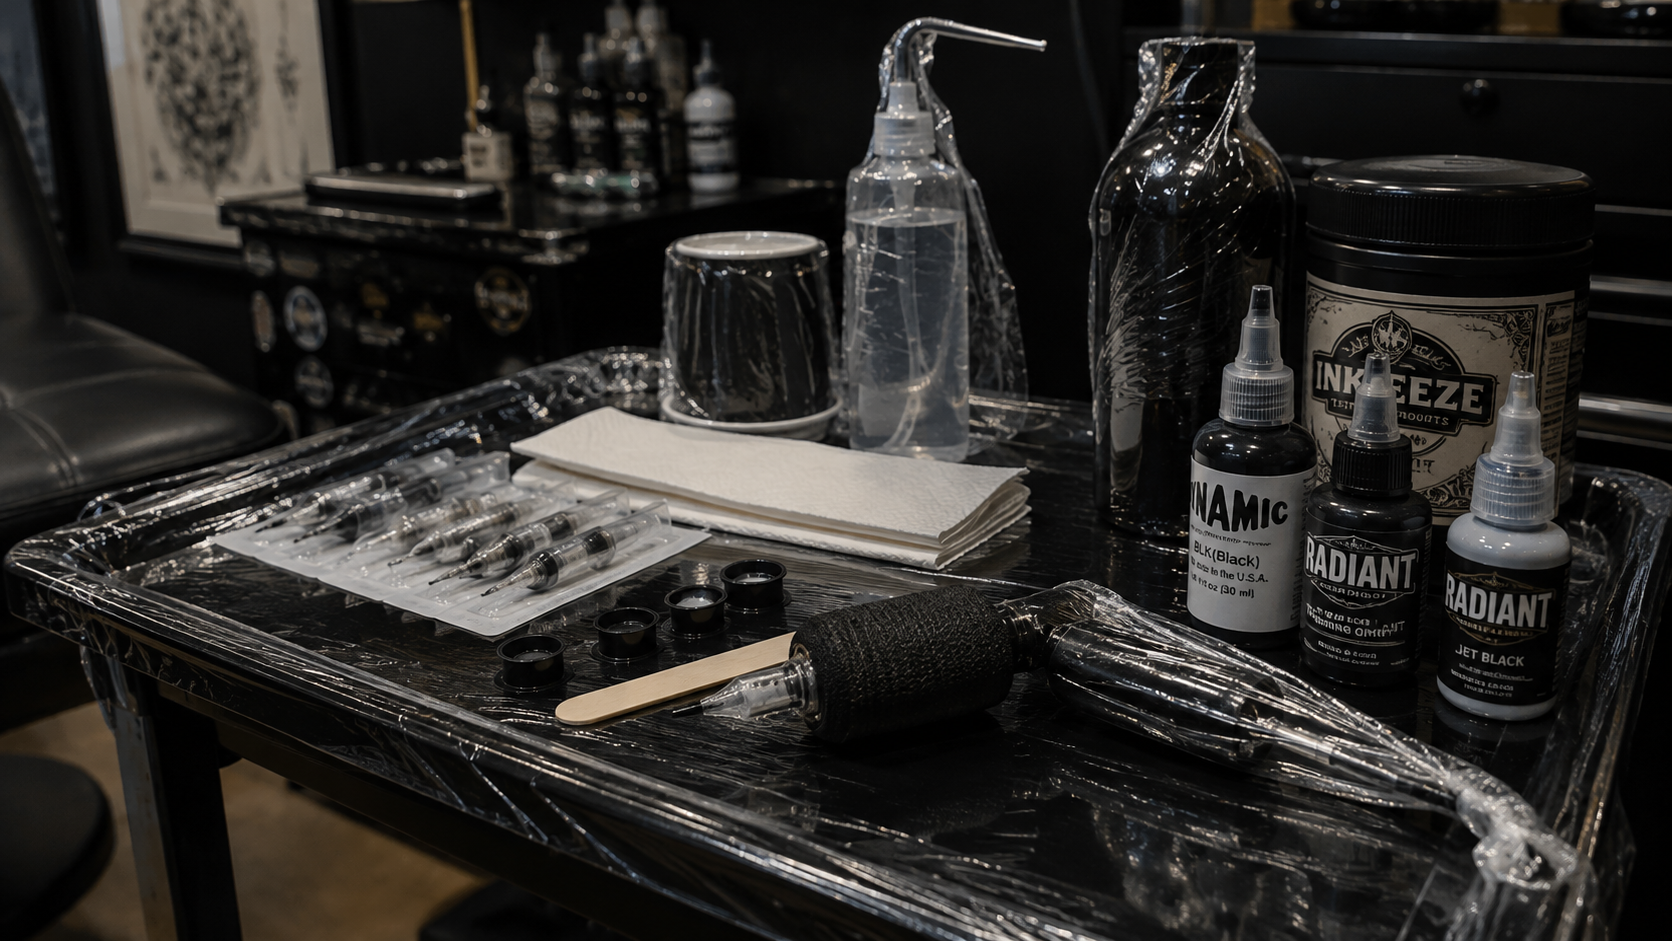
Once the design and placement are confirmed, the artist prepares the area to be tattooed. This generally involves cleaning the skin and preparing a suitable working surface. Depending on the body area and the client's skin, the artist may also remove hair if necessary. The purpose is practical: the artist needs a clean, accessible surface and clear visibility of the area being tattooed. The workstation and equipment are prepared according to the studio's hygiene procedures. At Inkspace, the studio states that it uses single-use needles and autoclave sterilisation as part of its setup. As a client, you should not be expected to manage the sterile equipment or touch items that are intended to remain clean.
Stencil Placement Is More Important Than It Looks
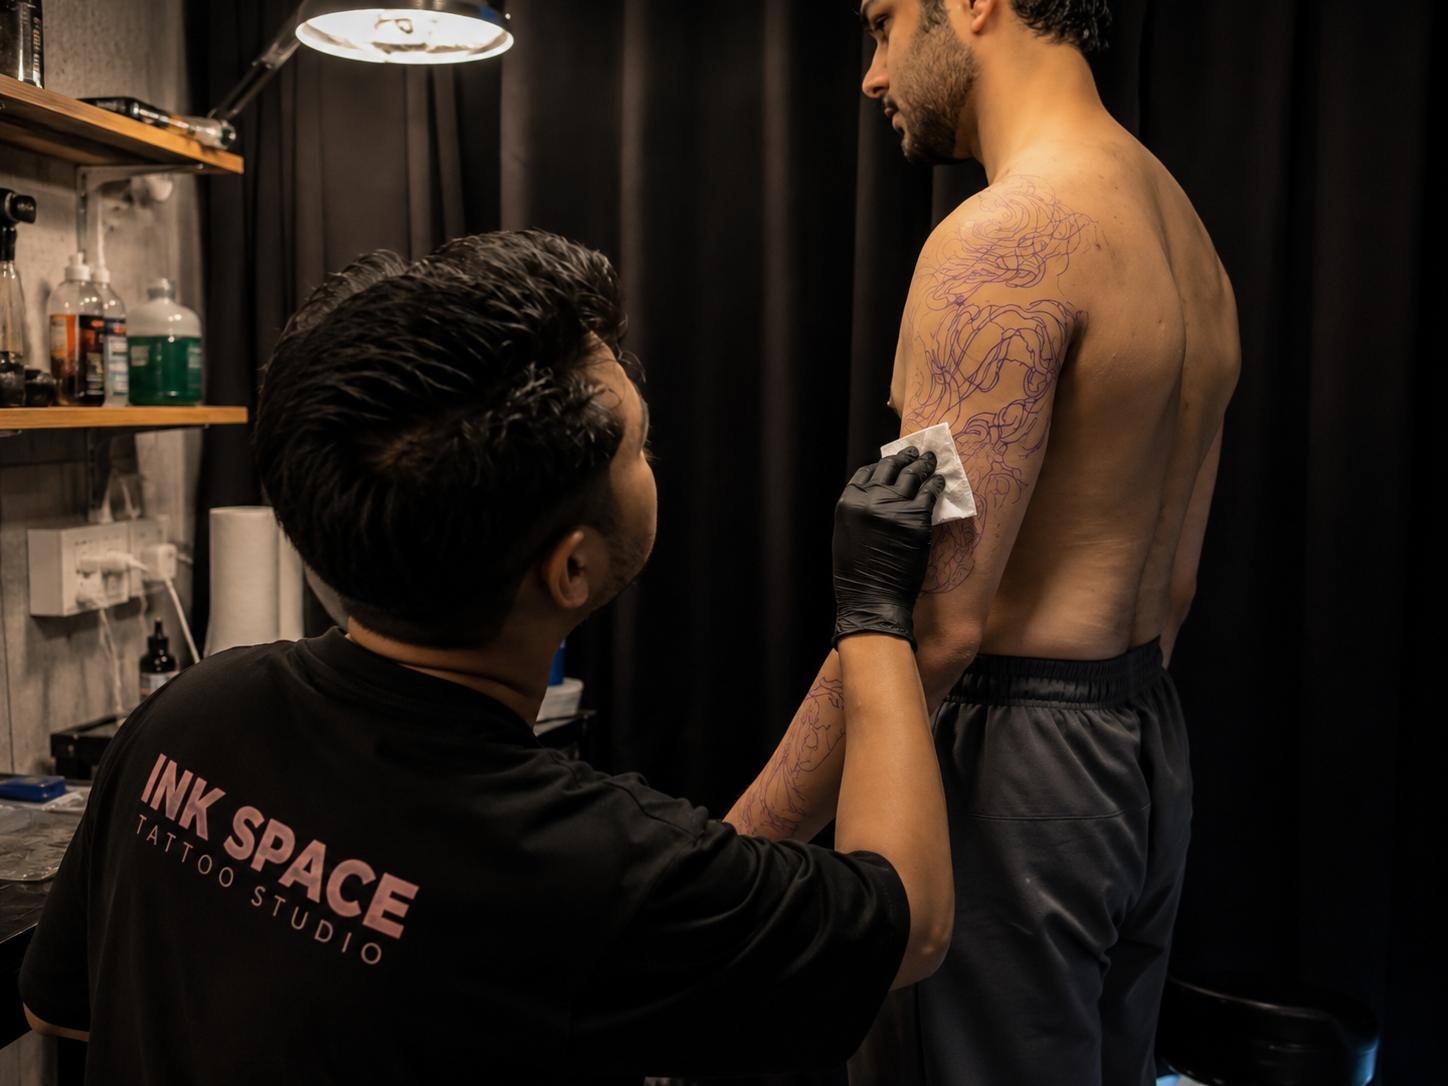
The stencil is one of the most important checkpoints in the entire session. The artist transfers an outline of the design onto your skin so the placement can be evaluated before permanent tattooing begins. This is where the design becomes a body-specific decision. You may be asked to stand, sit or move into a natural position while the artist checks the stencil. This matters because skin folds, muscles and body contours can change the way a design appears. For example, a design that looks perfectly straight on a flat image may need a slight adjustment when placed around an arm, shoulder, ribs or another curved area. Do not rush this stage. Check the size, position and orientation from the angles that matter to you. If something feels clearly wrong, say so before tattooing starts.
The The First Lines Are Usually a Careful Test of the Placement Process: Outline, Shading, and Color
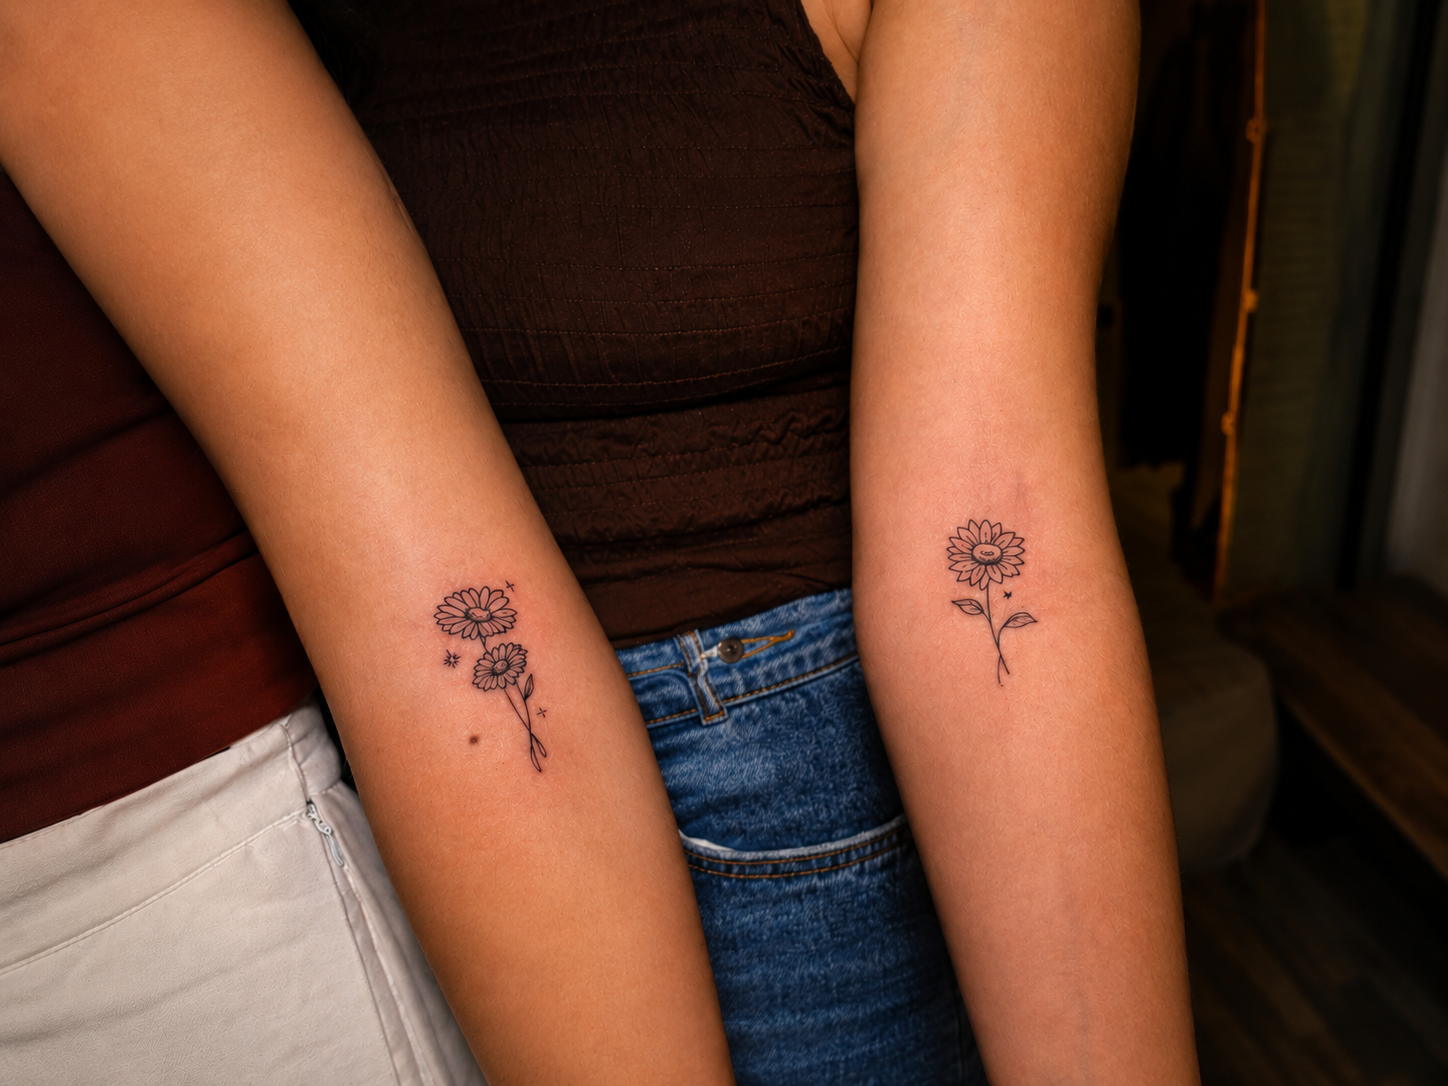
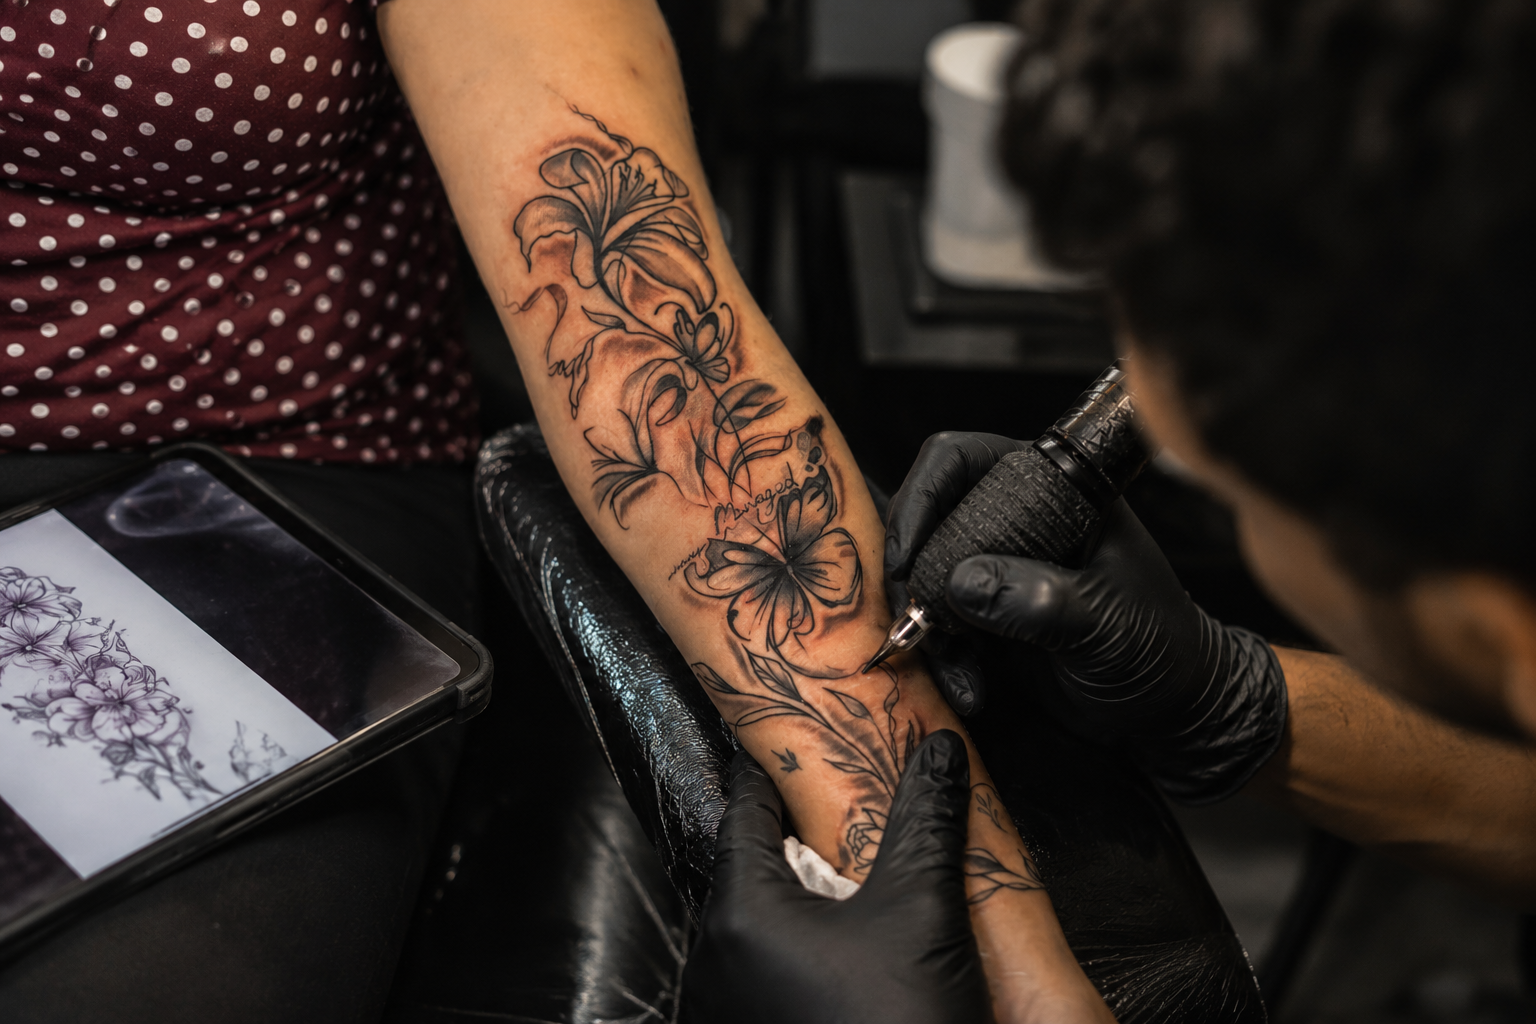
Once the stencil is approved, tattooing can begin. The artist normally starts by establishing the main lines or important structural elements of the design. The exact order depends on the tattoo style, technique and artist's workflow. Fine-line work, blackwork, realism, colour tattoos and large custom pieces do not all follow exactly the same sequence. During this stage, the artist is also working with the skin's response. Skin can become red, swollen or more sensitive as tattooing continues. The artist adjusts their approach when necessary rather than treating every area of skin exactly the same way. This is one reason tattooing cannot be reduced to simply "following the stencil." The stencil provides a guide, but the artist still has to make decisions while working.
Your Artist Will Regularly Wipe and Clean the Area
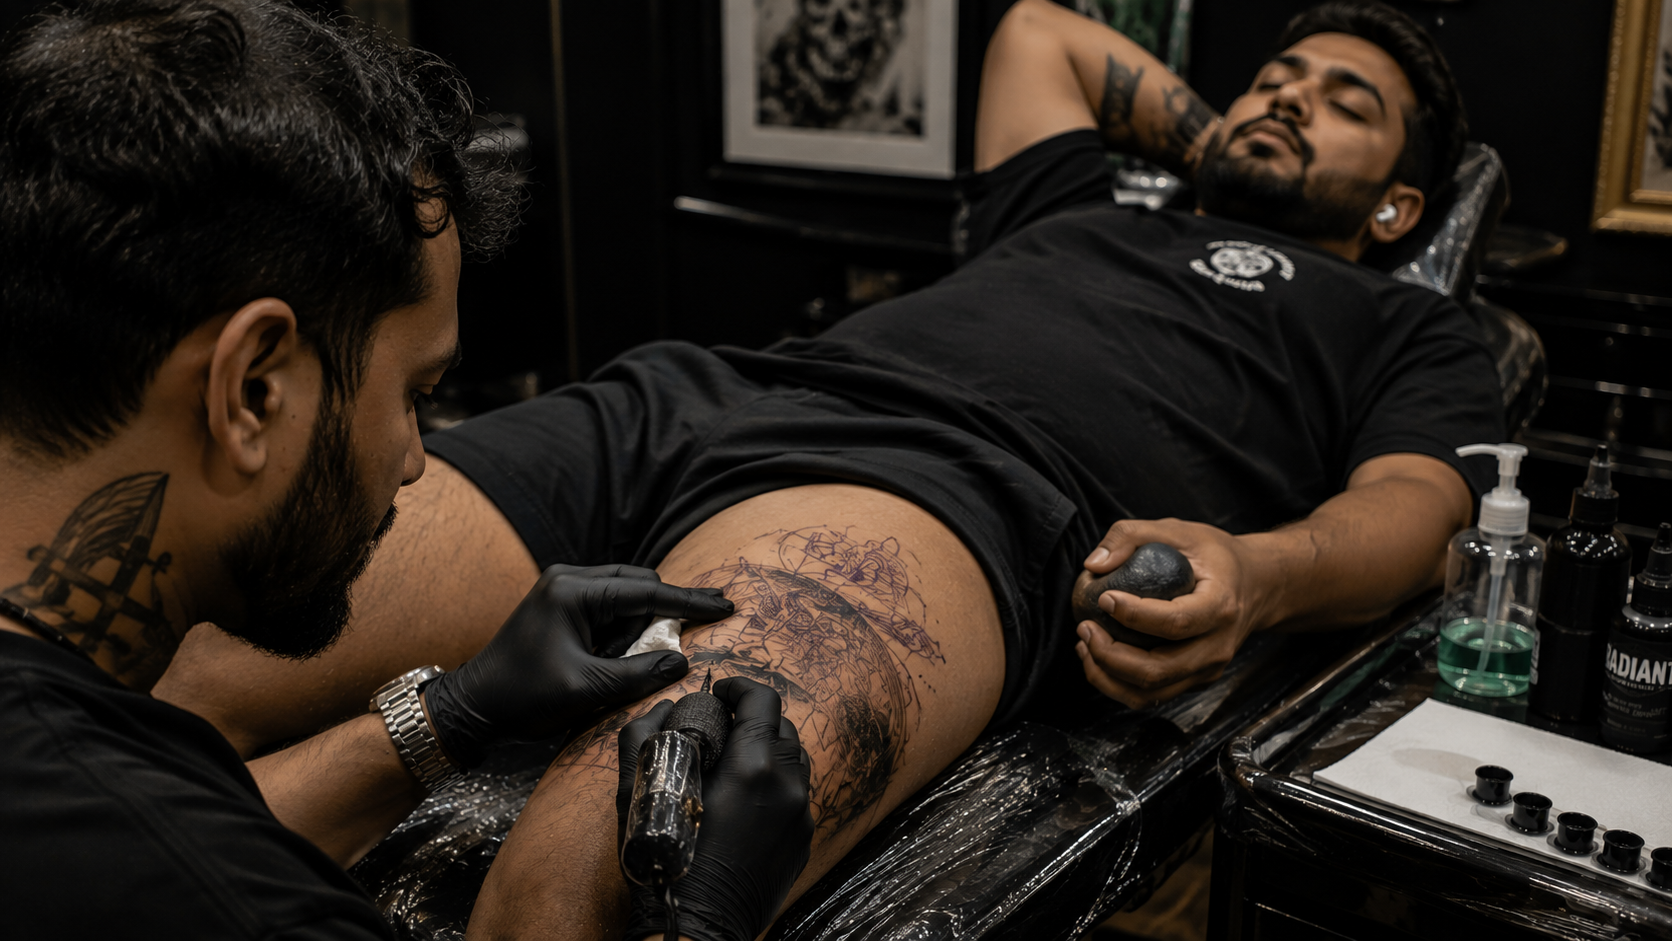
If you have watched tattoo videos online, you will have noticed the artist repeatedly wiping the skin. This is normal and necessary. During tattooing, excess ink, fluid and other material can collect on the skin's surface. Wiping allows the artist to see the actual lines and details they are creating. Without regularly clearing the surface, it becomes much harder to judge what has already been tattooed. The wiping process is therefore part of the tattooing itself, not an indication that something has gone wrong. You may also notice that the artist periodically stops to inspect the work from a different angle or clean a larger area before continuing.
The Session May Not Be One Continuous Block
A tattoo session does not have to mean sitting completely still without interruption. For longer tattoos, breaks can be useful. The client may need to stretch, drink water, use the washroom or simply change position. The artist may also need short pauses to inspect the tattoo, change supplies, adjust equipment or approach a different part of the design. If you are uncomfortable, tell your artist rather than trying to tolerate it silently. A short, controlled break is generally more useful than moving unexpectedly while the artist is working. For a large tattoo, the artist may also divide the work across multiple sessions. This can be necessary because of the size and complexity of the piece, the condition of the skin during tattooing or the amount of work that can reasonably be completed in one sitting.
Pain and Sensation Can Change During the Session
There is no universal pain level for a tattoo. Sensation can vary with placement, tattoo size, technique, duration and individual tolerance. Even within the same tattoo, one area may feel noticeably different from another. The sensation can also change as the session progresses. Skin that has already been tattooed may become more sensitive, while fatigue can make a long session feel harder to tolerate. This is one reason experienced artists pay attention to the skin as well as the client's comfort. If you need a break, communicate clearly. You do not need to wait until the discomfort becomes overwhelming.
The Artist Checks the Tattoo as It Develops
A tattoo is not always evaluated only after the final line is finished. During the session, the artist may step back and inspect the composition, compare sections, clean the area and check whether the tattoo is developing as intended. This is especially important for larger pieces and designs containing multiple elements. A good tattoo session involves ongoing decisions about line weight, spacing, contrast, detail and how different parts of the design relate to each other. For custom work, this is where professional judgement becomes particularly important. The artist is not simply reproducing a digital image; they are adapting the design to real skin.
The Final Wipe Is a Real Checkpoint
The "last wipe" is more than simply cleaning the tattoo at the end. Once the tattoo is finished and the surface has been properly cleaned, the artist can see the completed work clearly without the layer of excess ink that was present during tattooing. This is when the overall result can be checked properly. The artist may inspect: Whether all intended areas have been completed Line consistency Overall composition Details and small elements Any areas that may require attention The condition of the tattooed skin The appearance at this point is not the final healed appearance. Fresh tattoos commonly look different from healed tattoos because the skin has just undergone tattooing. That distinction is important when evaluating the result.
Cleaning, Photographing and Protecting the Tattoo
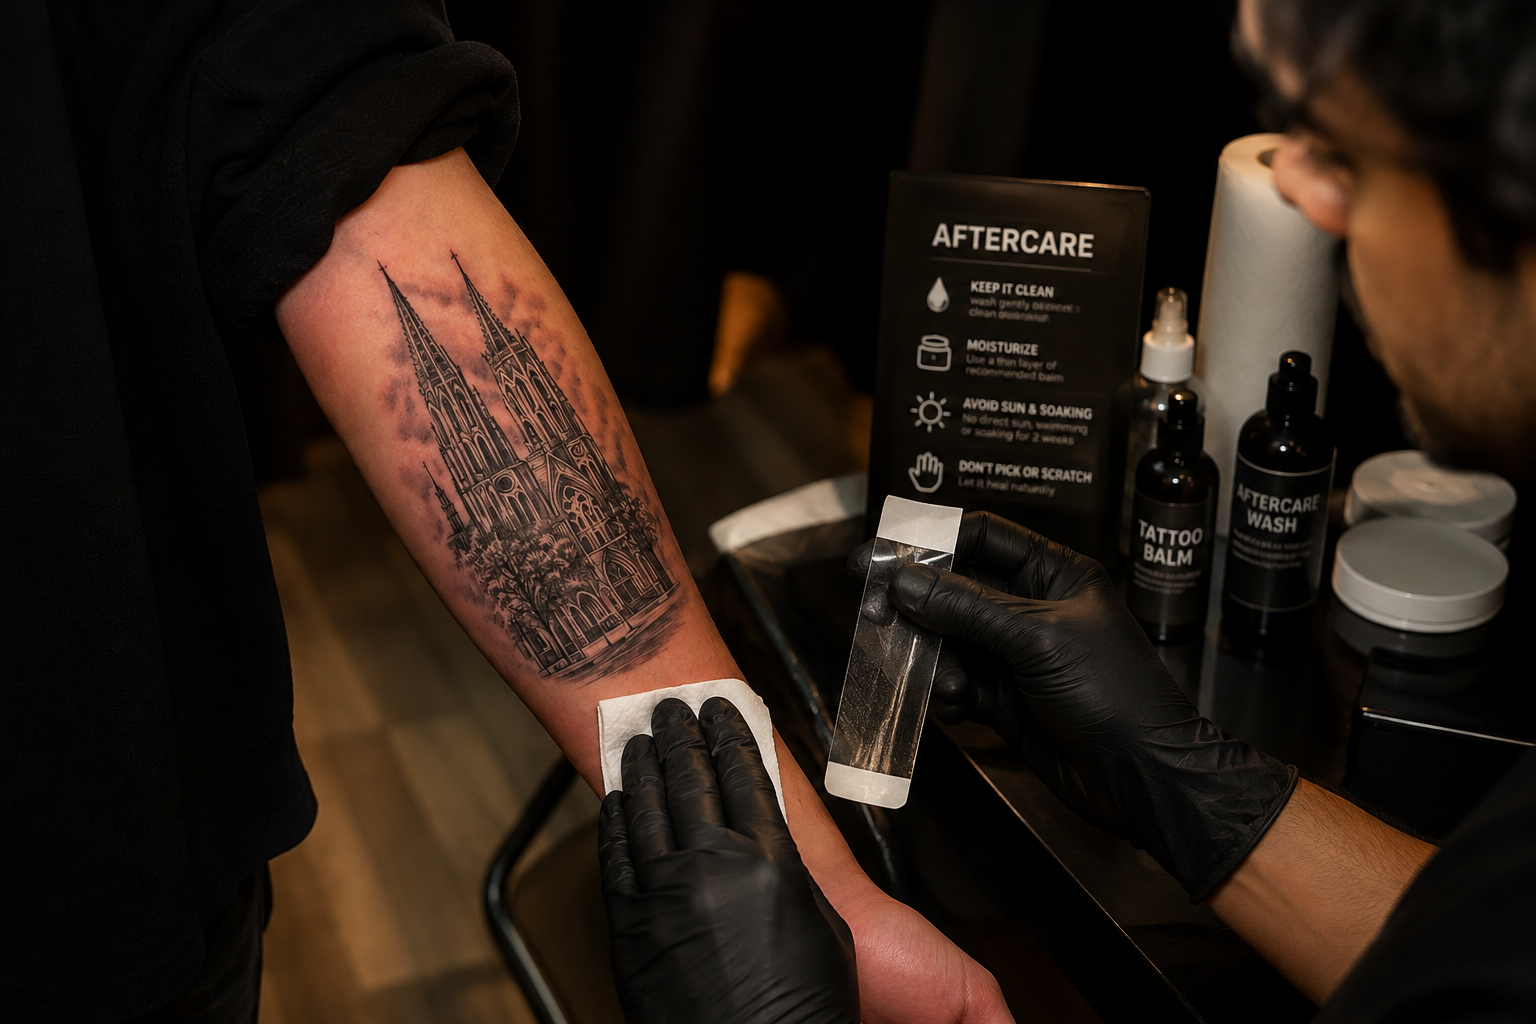
After the tattoo has been completed, the area is cleaned and prepared for the next stage. Depending on the studio's protocol and the tattoo, the artist may apply an appropriate covering or dressing. This is also when the artist normally explains what you should do once you leave. At Inkspace, aftercare is treated as part of the tattoo process, with clients receiving an aftercare protocol and guidance for the healing period. If the studio provides written aftercare instructions, keep them. Do not rely entirely on something you remember from a previous tattoo because aftercare recommendations can differ depending on the tattoo, covering and products being used.
The Session Ends With an Aftercare Handoff
Before leaving, you should know the basic aftercare instructions for your specific tattoo. Ask if you are unsure about: When to remove or change the covering How to clean the tattoo What product to use What activities should be avoided temporarily What normal healing changes may look like When to contact the studio with a concern You should also know how to contact your artist or studio if you have a question during healing. A professional tattoo session therefore does not really end when the machine is switched off. The tattoo still has to heal, and how you care for it during that period affects the final result.
What You Can Do to Make the Session Easier
Your artist controls the tattooing technique, but your preparation can make the appointment considerably smoother. Before arriving: Eat a normal meal unless you have been specifically advised otherwise. Drink enough water. Get reasonable sleep before a long appointment. Wear clothing that gives the artist easy access to the tattoo area. Avoid arriving intoxicated. Bring anything you genuinely need for a longer appointment, such as water or entertainment with headphones. Tell the artist about relevant skin concerns or anything that could affect the session. Most importantly, arrive with the major design decisions settled. Changing the concept repeatedly once the session has started can make the appointment longer and unnecessarily complicated.
What You Should Not Expect From Every Tattoo Session
There is no single universal tattoo-session format. A small lettering tattoo may be relatively straightforward. A large realism piece, cover-up or sleeve can involve considerably more preparation, positioning, wiping, breaks and technical decision-making. The artist's workflow can also differ according to style. The useful expectation is not that every session will follow the exact same sequence. It is that a professional session should have clear communication, appropriate preparation, careful placement, controlled tattooing and an aftercare handoff.
Related reading
- What Happens in Your First 5 Minutes at a Tattoo Studio
- Why Hauz Khas Became Delhi's Tattoo Hub
- What Your Tattoo Placement Says About You According to a Psychologist
- Your Tattoo Artist Is Not a Mind Reader — Here's How to Explain What You Actually Want
- Can You Get a Tattoo During Summer in India? Honest Guide by a Delhi Tattoo Artist
Final Takeaway
A tattoo session involves much more than the time the needle is on your skin. The process generally includes reviewing the final design, preparing the skin and workstation, positioning the stencil, tattooing while repeatedly cleaning and inspecting the area, taking breaks when necessary, completing a final check and handing over aftercare instructions. For the client, the most important things are simple: communicate clearly, check the stencil carefully, speak up if something feels wrong, stay reasonably comfortable during the session and follow the aftercare instructions once you leave.
Artist Advice
Do not judge the quality of a tattoo only by how fast the session finishes. A careful artist may stop frequently to clean the skin, check placement, inspect details or give the skin a break. Those pauses are part of controlled tattooing, not wasted time. If you are unsure about something during the appointment, ask. It is much easier for an artist to address a concern before the tattoo is finished than to correct a decision after the work is permanent.
Frequently Asked Questions
How long does a tattoo session take?
There is no single session length. It depends on the tattoo's size, detail, style, placement and the artist's workflow. A small tattoo may take considerably less time than a large realism piece or cover-up.
Should I eat before getting a tattoo?
For most people, arriving after eating a normal meal is sensible, particularly for a longer session. Staying hydrated and arriving rested can also make the appointment easier to tolerate.
Can I ask for a break during a tattoo session?
Yes. Tell your artist when you need a short break. For longer tattoos, planned or occasional breaks are normal.
Can I change the tattoo design during the session?
Major design changes should ideally be resolved before tattooing starts. Minor adjustments may sometimes be possible, but this depends on the design and whether the change affects the stencil, size, placement or preparation already completed.
Why does the artist keep wiping the tattoo?
Wiping removes excess ink and fluid from the surface so the artist can clearly see the lines and details being tattooed. It is a normal part of the process.
Does a fresh tattoo look the same as a healed tattoo?
Not necessarily. Freshly tattooed skin can look different while it settles and heals. The final healed appearance should be assessed after the healing process rather than immediately after the session.